
Everyday Kitchen
Bring a simple meal together without rushing
Decide what starts first, what can wait and what needs to finish last. Practise with pasta, tomato sauce and a simple cold side.
Before you begin
- Read a recipe and get ready to cookRead the complete meal and set out its equipment.
- Pasta water and sauce clingUse the same sauce-first, drain, warm and mix sequence throughout this meal.
Choose one main task to learn
Bringing a meal together is a skill of its own. First choose a hot main with a forgiving sauce and an optional cold side. Read and, when possible, try each unfamiliar technique separately before combining them. You do not need several pans to finish at exactly the same second.
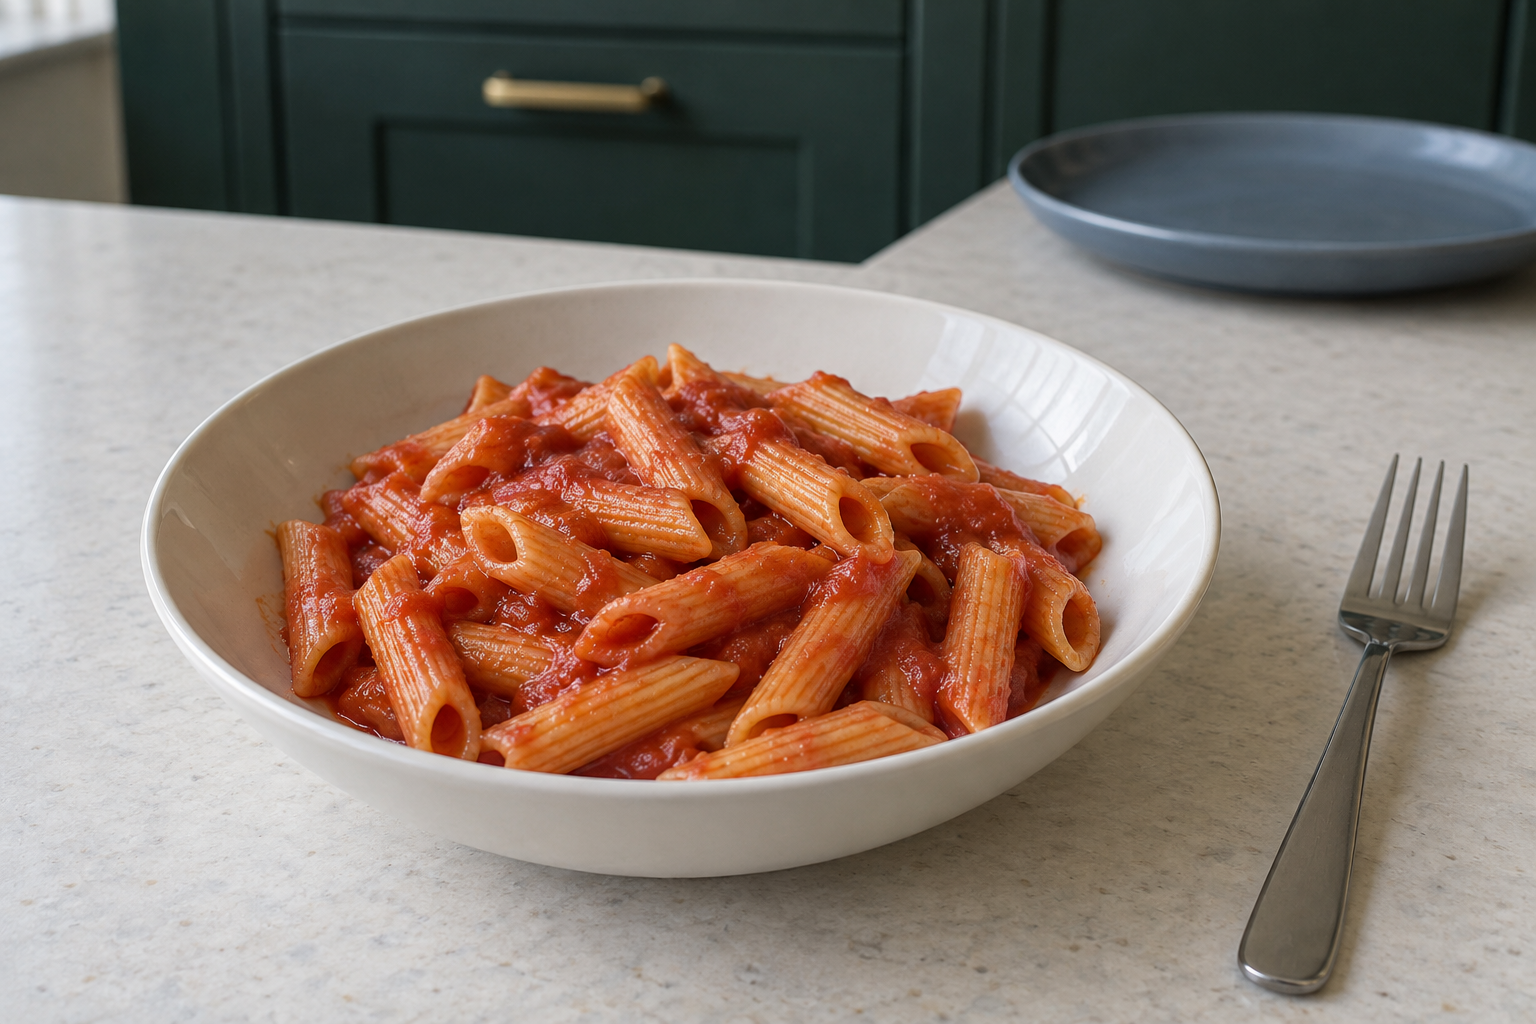
This practice makes two adjustable portions of pasta and plain tomato sauce. A small washed, ready-to-eat salad can wait in the fridge. There is no raw meat, chopping or new dressing to handle while the pasta needs attention. Start with sauce, cook pasta next, then warm the sauce and combine in the emptied pasta pan.
Check the whole meal before starting
- Read food labels before you cookCheck the actual pasta, passata and salad labels.
- Washing vegetables and keeping prep cleanWash produce only if this optional side needs it.
- Drain food and save cooking water safelySet up a supported colander and water-saving jug before heating.
- Measure 160 g plain dried pasta, 250 g plain passata, 1 teaspoon olive or rapeseed oil and 2 tablespoons cold water (30 ml). Optional: 1/4 teaspoon dried oregano and a small salt adjustment at the end. Check allergens, dates and opening instructions. The pasta packet supplies its separate cooking-water quantity; do not mistake the sauce water for it.
- For an optional side, start with about 100 g salad explicitly labelled washed and ready to eat, divided between two people and adjusted to appetite. Follow the label, including any further washing instruction. If washing is required, prepare it using the linked vegetable lesson before heating. Bread, cheese and garnish are not required for this practice.
- Get the pasta pan and sauce pan, sauce lid, heat-resistant spoon, scales, jug, teaspoon and 15 ml tablespoon measures, timer, clean tasting spoons and saucer, heatproof water-saving jug and ladle, supported draining equipment, two serving bowls, salad bowl and cover, dry oven gloves and two stable heatproof landing places. The complete finishing lesson explains which pan sizes and draining arrangement to use.
- Leave time for weighing, washing and heating water, not just the packet cooking time. Allow roughly 45 to 60 minutes on a first attempt, longer if your pasta water heats slowly. Treat a serving time as a target rather than a reason to skip doneness checks.
Prepare the jobs that can be done cold
- Wash hands and clean the work area. Prepare the optional salad in its clean bowl, cover and return it to the fridge. Do not leave it beside the warm hob until serving.
- Open and weigh passata, measure the oil and sauce water, then put those ingredients and optional oregano together in the cold sauce pan. Refrigerate unused passata as its label directs. Weigh the dry pasta separately.
- Clear the sink and route to it. Set up the supported draining arrangement, water-saving jug and ladle. Place both trivets, dry gloves, utensils and bowls where you can reach them without reaching over heat. Keep cloths clear of the hob.
- Write a short order: sauce first; switch off and cover; pasta; switch off, save water and drain; warm sauce; mix; serve. Write the pasta packet time and its earlier tasting reminder beside the pasta step. No new chopping job belongs between those steps.
Cook the forgiving component first
- Make a simple tomato sauce from passataUse the measured first sauce and controlled simmer.
- Pasta doneness: why tasting mattersCheck a cooled piece instead of using the clock alone.
- Pasta water and sauce clingFollow the same emptied-pasta-pan finishing route.
- Cook the sauce using the full passata lesson: controlled gentle bubbling for about 10 to 15 minutes after it starts bubbling, regular base stirring and a cooled clean taste. Once ready, switch its ring off. Cover for the short same-session pasta interval; use dry gloves for a hot lid or handle and park the pan securely on its trivet if moving it.
- Cook pasta using its full lesson and the packet water quantity. Watch the boil, start its cooking timer at the specified point and take a cooled early taste. Stay beside the hob. If you need to leave, switch off rather than expecting a timer to watch the pan.
- When the pasta is nearly at your chosen texture with no hard centre, switch off its ring. Ladle about 150 ml cooking water into the stable heatproof jug, keeping hands out of steam. Drain using the prepared method. Return pasta to its emptied pan off the heat on a trivet; this will be the mixing pan.
- Immediately warm the sauce in its own pan over medium-low heat, stirring until steaming throughout. Switch off. Carefully pour this small sauce quantity over the pasta in the stable receiving pan, protecting hands from hot handles. Do not try to fit the pasta into a small sauce pan.
- Put the pasta pan on low to medium-low heat and stir gently. If the coating is tight, add 1 tablespoon saved water, stir for 15 to 30 seconds, then reassess. The reserve is not a direction to add all 150 ml. Follow the finishing lesson for the brief one-to-two-minute texture check.
- Switch off, put the pan on the trivet and spoon into bowls. Bring out the optional salad now. Check all cooker controls are off. Let a spoonful cool before eating; leave unused saved water somewhere safe to cool before discarding it.
With only one ring
- Storage and reheating basicsFollow the supported cooling, labelling and once-only reheating routine.
The sequence above already works with one usable ring: only one pan is heating at each stage. Have two secure trivet spaces because the sauce pan waits while pasta cooks, then the drained pasta pan waits while the sauce warms. Do not park a pan on a control, an unstable edge or a plastic surface.
Keep this one continuous cooking session. For a long planned gap, cool and refrigerate sauce using the storage lesson rather than leaving it covered on the counter for hours. If plans change, store food deliberately and retain its once-only reheating history.
When one part finishes early
- Storage and reheating basicsFollow the supported cooling, labelling and once-only reheating routine.
- Rice leftovers safelyUse rice-specific limits if later changing the meal.
The sauce is made first precisely because it can wait briefly off the heat. Pasta keeps softening while it remains in hot water and becomes sticky after draining. Finish it promptly rather than deliberately boiling it until a late sauce is ready. If this happens, switch off, save water and drain, then finish the sauce while pasta waits briefly in its empty pan.
A timing mistake is a reason to adjust the next attempt, not to hold warm food all afternoon. If the meal cannot continue promptly, follow the cooling routine. Do not assume a covered pot or a second heating makes an uncertain storage history safe. Cooked rice, if used in a different meal, has its own shorter routine.
Record the one change that would help
- Boil and steam vegetables without guessingAdd one new cooked side after the basic timing feels familiar.
After eating, write a practical note such as "clear the sink before boiling" or "make sauce before starting pasta". A useful schedule depends on your equipment and pace. Once this meal feels manageable, replace one component at a time, for example add a separately cooked vegetable rather than changing the whole meal at once.