
Guided Practice
Learn spice balance with a Mexican-inspired bean mix
Make a small seasoning mixture, bloom it gently and use it in beans while learning to separate warmth, heat, salt and acidity.
Before you begin
- Open a can and use cooked beansOpen and drain canned cooked beans; dried beans are not a substitute.
- How to dice an onion without stressPrepare the onion before the pan is hot.
- How to use hob heat without guessingFind the heat controls and respond to vigorous sizzling or bubbling.
- Measuring accurately without stressUse level teaspoon and half-teaspoon measures.
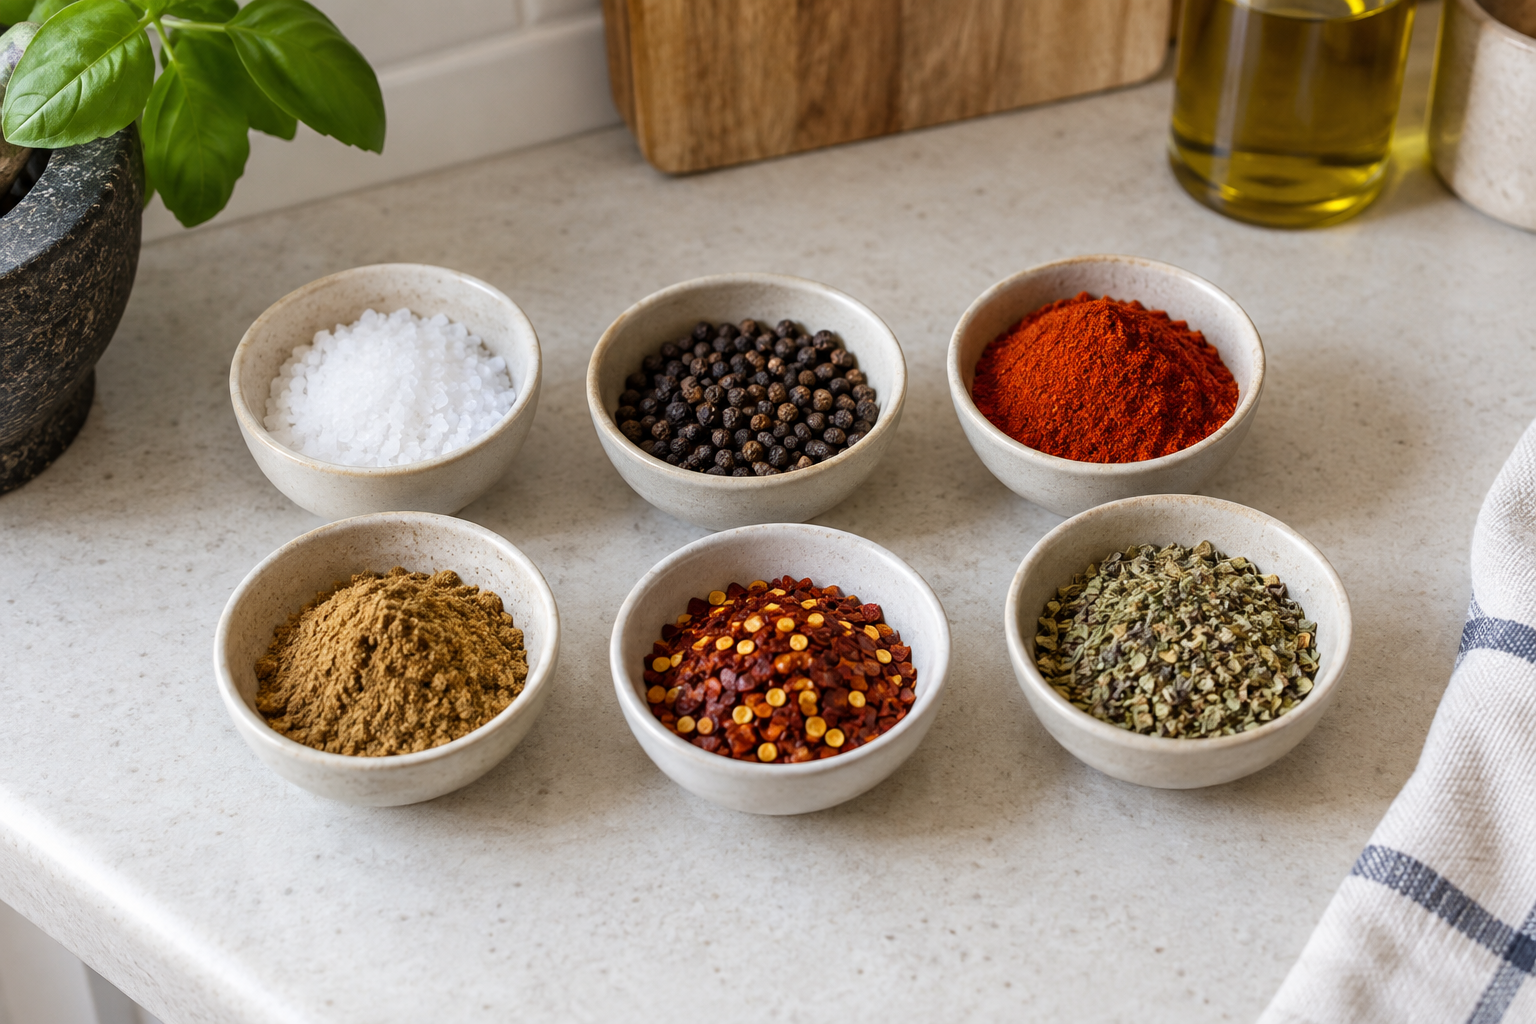
A mixture you can understand
This is a small Mexican-inspired home seasoning exercise, not a claim that one blend represents a whole cuisine. Paprika, cumin and oregano give different aroma notes. Heat and salt are separate decisions. Begin without chilli so you can compare flavour rather than testing how much heat you tolerate.
Choose labelled mild paprika, ground cumin and dried oregano; paprika can itself be hot, smoked or sweet. A jar called chilli powder can be pure chilli or a blend containing other ingredients, including salt. Read the actual label instead of identifying an unknown powder by colour. This lesson makes one pan of beans in tomato sauce, with bread as an optional no-cooking accompaniment.
For a small spice mixture
- How to dice an onion without stressFinish cold dicing before weighing the 75 g portion.
- Measuring accurately without stressUse marked level measures, not heaped eating spoons.
- Read food labels before you cookChoose the actual canned product and check its preparation directions.
- For the dry blend use 1 level marked 5 ml teaspoon mild paprika, 1/2 level teaspoon ground cumin and 1/2 level teaspoon dried oregano. Use clean dry marked fractional spoons and the back of a table knife to level them, not a cutting blade. Mix in a small dry bowl with a dry spoon. This is about 2 teaspoons of loose ingredients, not 2 teaspoons packed hard.
- For one pan use an intact shop-bought 400 g can of ready-cooked cannellini beans or chickpeas IN WATER, about 240 g drained, and an intact 400 g can chopped tomatoes in juice. Choose beans whose label permits hob heating in sauce. This is not a method for dried beans, frozen beans, home-canned food or baked beans in a different sauce.
- Prepare 75 g peeled onion, diced about 5 mm, weighed AFTER peeling and trimming. Follow the whole onion lesson before heat; weigh the amount from its diced bowl and cover/refrigerate any spare promptly for use the same day or an earlier pack limit. Use two marked 5 ml teaspoons cooking oil, 10 ml total, and two marked 15 ml tablespoons drinking water, 30 ml total. Put a separate 60 ml water reserve in a small jug for later corrections.
- Set out a stable hob-compatible saucepan of at least 2 litres with room to stir, heat-safe stirring/serving spoon, supported sieve or standing colander, suitable can opener if needed, scales/bowl, board, knife, measuring spoons and timer. Have dry handle protection, broad trivet, checking fork and sample saucer, clean tasting spoons and two standing serving bowls. The first attempt is uncovered; no heavy lid or pan-tossing move is needed.
- Have a clean dry lidded jar and label for unused blend, separate from steam and wet tools, and shallow food containers for any cooked leftovers. Optional finishing ingredients are a small amount of table salt and ordinary FOOD vinegar or lime juice, not cleaning vinegar. Check all labels for allergens, dates, opening and heating directions before starting. Omit optional acid and chilli if unsure.
Build the bean base
- Open a can and use cooked beansOpen without touching sharp edges.
- Open a can and use cooked beansUse a secured support before pouring.
- Simmer versus boilRecognise and maintain the gentle simmer.
- Stir, whisk, fold and turn: four different movementsMove food across the whole base.
- Before heating, complete the can lesson's opening and safe lid disposal for both cans. Drain the entire bean can in a securely supported sieve, rinse as the label directs and leave to drain; do not balance a loose sieve while pouring. Keep ALL tomatoes and juice. Measure the dry blend and 30 ml water, prepare the 75 g onion and put the knife visibly aside. Wash and dry hands.
- Use a matching ring with the pan handle clear of the edge and other rings. Put the 10 ml oil and prepared onion into the cold dry pan, then begin medium-low heat. Stir across the base every minute. First check at about 8 minutes; keep gently cooking and checking every 2 minutes until a thick cooled onion piece is tender, not raw and crunchy. Glossy edges alone are not the endpoint.
- If onion catches without smoke, lower or switch off the heat. With the food-filled pan at a calm sizzle, add 15 ml from the measured 30 ml water low over the onion with hands back from steam, stir, and continue gentle cooking. If the oil smokes or the base blackens, use the stop section below, not the water jug. Remember whether 15 ml has already been used.
- Keep the open tomatoes beside you BEFORE the brief spice stage. Lower to low; if sizzling remains vigorous, switch off and let this non-smoking food-filled pan settle, supported on its trivet if safe to lift. Stir the dry blend again, measure 1 LEVEL teaspoon of it with a fresh dry measure and stir it through the softened onion. Keep it moving for about 10 to 20 seconds, just until the aroma becomes more noticeable; do not wait for brown powder or smoke.
- Add all chopped tomatoes and their juice close to the food-filled pan, hands clear of splashes, and stir across the base. Add all drained beans and whichever of the original 30 ml water remains. No extra oil goes in. Keep the unused dry blend bowl and its spoon away from steam; never put a wet stirring spoon into it.
- Use medium-low heat as needed to reach gentle bubbles, then adjust down to a quiet uncovered simmer: small bubbles with pauses, not violent spitting. Start a 10-minute reminder from this simmer and stay with the pan, stirring across its whole base every minute or two. Complete any longer applicable bean-label time or method; a conflicting packet requires that suitable complete method, not guessing.
- At 10 minutes, lift a bean with the cooking spoon onto the checking saucer and split it with the fork to inspect the centre. Stirred sauce AND bean centres must be steaming hot and the beans tender; tomatoes should form a flowing sauce around them. Continue gently in 2-minute intervals if not ready. When a normally cooking sauce becomes too thick, switch off, let bubbling settle, stir in 15 ml from the separate reserve, then return to gentle heat and check again. Never use water to deal with smoking oil.
- Switch off to taste. With the cooking spoon transfer a small amount to the sample saucer, let it cool, then use a separate clean tasting spoon. Do not return a mouth-used spoon or tasted sample to the pan. If you want more aroma, use a clean dry fractional measure to add 1/4 level teaspoon of the REMAINING MIX, stir through, return to gentle bubbling for 3 to 5 minutes, then switch off and repeat the separate cooled sample. Do not fry it in another oil pool or assume it needs all the remaining mix.
- Only if wanted, add one small pinch of table salt, stir and retaste a new cooled sample. For acid, put 15 ml of sauce on a fresh sample saucer, add one drop of food vinegar or lime juice using a clean spoon/dropper and compare. If preferred, add a few drops to the whole pan, stir and use another clean sample. Omit acid if its sourness does not improve the result; there is no required salt or acid dose.
- When the sauce coats the beans but still flows, the full heating requirement is met and the flavour suits you, confirm the ring is off. With dry handle protection if needed, lift the pan level onto its broad trivet. Spoon into the standing bowls rather than pouring a heavy hot pan. Let each bite cool before eating. Bread can be served as supplied after its allergen check. Start cooling any untouched leftovers now, then clean when the pan is cool.
Separate flavour from heat
Write down the starting blend, the amount actually used and any cooled-sample adjustment. Change one component in a later attempt. More cumin changes aroma; smoked paprika adds a different character rather than merely increasing the original flavour. If a sauce seems dull, extra chilli is not automatically the answer.
For a later hotter blend, begin with only 1/8 level teaspoon of a known labelled ground chilli added to the whole dry mixture, using a marked measure. It is a trial amount, not a universal mild dose: chilli products vary greatly. Keep the same 1-teaspoon starting blend dose in the same bean pan and taste only after cooking. Do not add the entire hotter jar or assume chilli flakes and powder have identical strength. Wash hands after handling chilli and avoid eyes.
Fix a first batch
- How to calm food that is too spicyFollow a measured cooked-food dilution.
- Burnt flavour rescue: when to save it and when to stopDecide whether the completed sauce is worth keeping.
- Open a can and use cooked beansPrepare an extra can before dilution, with its own heating directions.
At smoke, harsh burnt aroma or blackened spice, stop. Switch off only if safely accessible, leave the smoking pan in place and do not move it or add water. For flames, do not tackle the fire: leave, close doors if safe, warn others and call 999. Once a failed small onion-spice base is completely cool, discard it, clean/dry the pan as its maker directs and restart with fresh ingredients. Do not scrape black deposits into tomatoes or taste hot oil.
For a fully cooked non-smoking sauce that is too hot, use the complete spice-rescue lesson. A practical dilution begins by safely opening and draining another suitable can of ready-cooked beans, then adding a few tablespoons to this sauce and completing its required heating until the whole mixture and bean centres are hot again. Use separate cooled samples to judge the next addition. Raw dried beans are not a shortcut. Plain yoghurt on the individual plate is optional if suitable; it does not remove chilli.
If watery but normally cooking, continue uncovered gentle simmering in 2-minute checks, stirring across the base. Stop when spoon-coating but flowing, not a dry paste, and retaste because salt concentrates as water leaves. If flavour is already too strong, accept a looser bowl instead of reducing further. Sugar does not reliably remove distributed burnt bitterness.
Use the skill elsewhere
- Rice absorption and water ratioFor a later meal, follow the whole measured rice method.
- Bring a simple meal together without rushingPlan the second hot component before starting.
- Storage and reheating basicsUse shallow cooling, retained dates and once-only reheating.
- Rice leftovers safelyUse the shorter rice clock when combining.
- Clean and set up your kitchen before cookingWash the knife visibly and reset the dry worktop.
For a separate rice meal, read the complete white-basmati method and meal-timing lesson first. Cook and finish both components rather than putting uncooked rice into this bean pan. Bread is the simpler first attempt because it leaves you one heated task to manage. Neither accompaniment is needed to practise or finish the bean lesson.
Transfer unused uncontaminated dry blend to the clean dry jar with its ingredient list, mixing date and earliest ingredient best-before date. Store as the ingredients direct, away from heat, moisture and steam; use soon for stronger aroma. Never return a damp measure, wet mixture or food-contact spoon to the jar. Best-before describes quality, not permission to ignore spoilage or storage directions.
Cool untouched cooked beans in shallow portions, refrigerate within 1 to 2 hours and label with the original cooking time and earliest ingredient limit. Use within 48 hours or a shorter label limit; freeze promptly if appropriate. Reheat a portion only once until steaming throughout. Rice requires its shorter routine: ideally cool within 1 hour and refrigerate no longer than 24 hours. Combining it with beans does not extend that deadline.
With heat safely stopped, wash tools, bowls, sieve and opener as their care instructions allow. Keep the knife visible and wash separately. Let the pan cool before washing, clean/dry the worktop and check the ring is off. Store the labelled jar away from the cooking area so the next attempt starts with dry tools.