
Vegetables And Pulses
Open a can and use cooked beans
Handle a can and its sharp lid, drain or rinse cooked pulses, then warm a small batch without confusing them with dried beans.
Before you begin
- Clean and set up your kitchen before cookingPrepare clean hands, an uncluttered worktop and safe tool storage.
- Read food labels before you cookCheck the can, its contents and its after-opening instructions.
- How to use hob heat without guessingLearn controlled heating before warming the beans.
Choose cooked beans in water
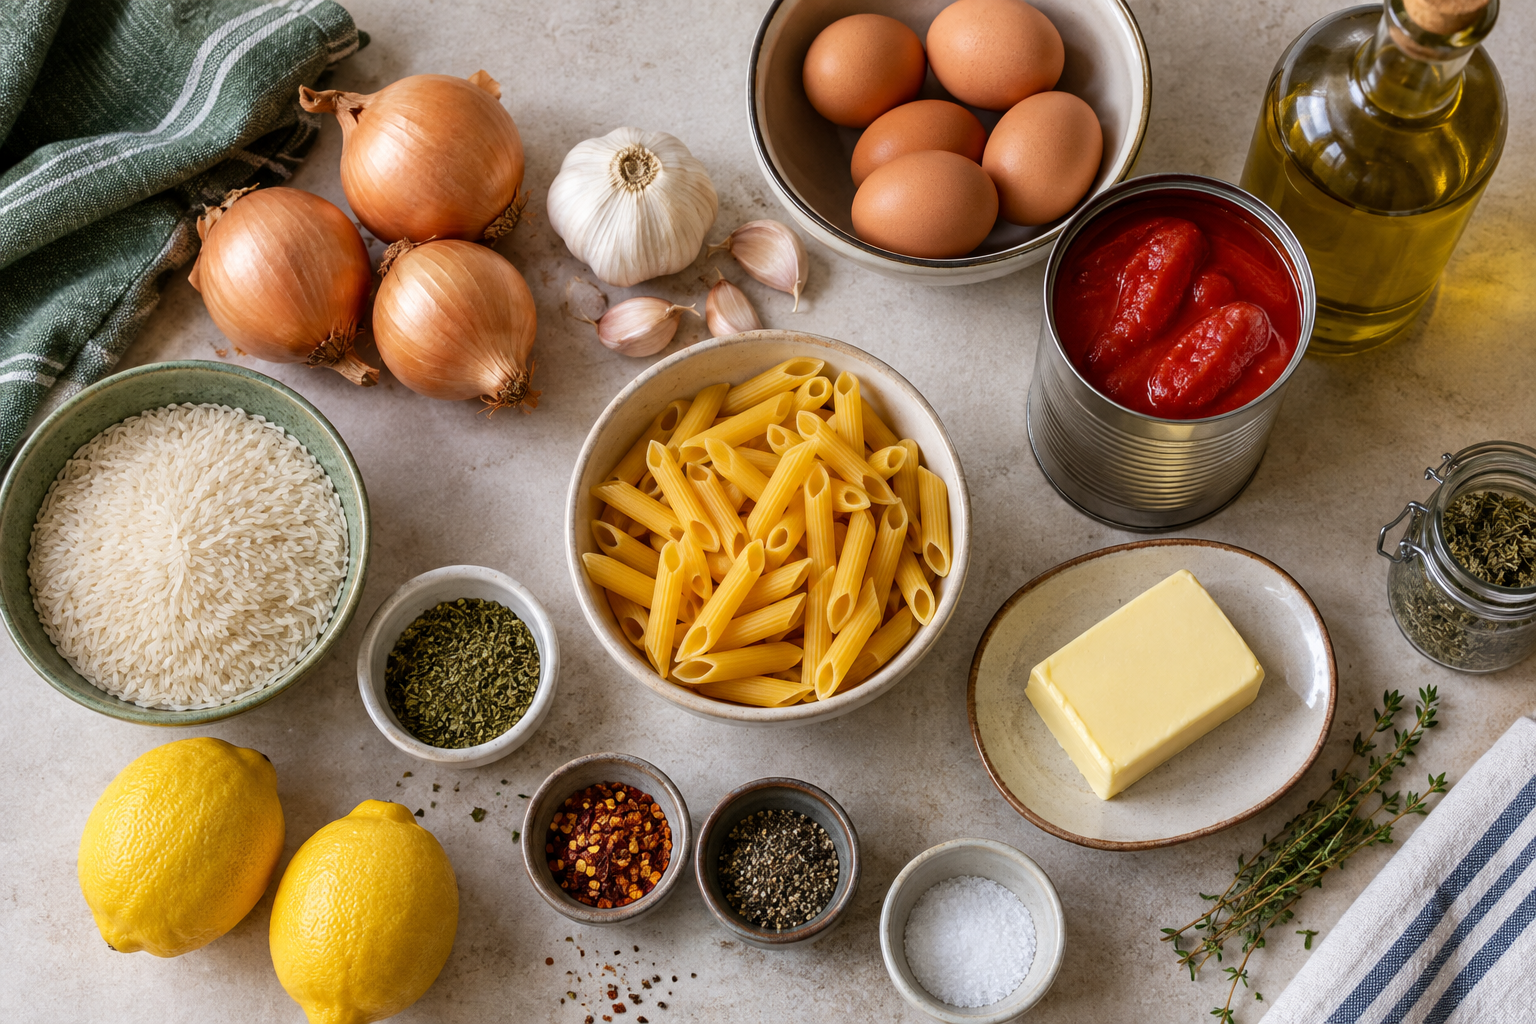
For this practice choose a standard shop-bought 400 g can of cannellini beans or chickpeas in water. The can weight includes liquid; the drained weight, often around 230 to 250 g, is the beans without it. Check your own label. A can already containing a sauce usually uses that sauce rather than being rinsed.
Canned pulses have been heat processed, but still follow their preparation label, including any required cooking. For a cold salad, choose a product explicitly suitable to eat without further cooking. This lesson is not a method for dried beans, home-canned food or unidentified jars. Dried kidney beans need their own soaking and vigorous-boiling instructions; a brief warm-through or a slow cooker alone is not a substitute.
Set up before opening
- One intact can, a clean can opener if there is no usable ring pull, a stable worktop, spoon and tongs suitable for handling a loose sharp lid. Read the opener instructions: side-cutting and top-cutting designs attach differently.
- A sieve with a secure support or a standing colander with holes small enough to retain the beans; a small saucepan holding at least 1 litre; a heat-safe stirring spoon; a 15 ml measuring tablespoon; a fork for optional mashing; a serving bowl; and a timer. Set out dry oven gloves and a heatproof trivet. Have a clean lidded food container and a label for any unused portion.
- Do not use a bulging, leaking, badly dented or seam-damaged can, or one rusted at a seam. Do not taste suspicious contents to decide whether they are safe. Return or dispose of a suspect can without serving its contents.
Open without handling the cut edge
For a specific side-cutting example, the OXO Smooth Edge instructions say to open the handles, put the opener against the can and align the top rim with the opener's curved guide. Close the handles and turn the knob clockwise until resistance drops. Turn it anticlockwise once, open the handles and lift the lid with the built-in lid pliers. These steps belong to that design, not every opener. Before buying or using a different one, find its own instructions; if attachment is unclear, use an intact ring-pull can or ask for a demonstration.
- Wash hands. Clean and dry the outside top of the intact can, so dirt around the rim will not be dragged into the food. Stand it upright on a stable surface.
- For a ring pull, lift the ring gently and pull according to the lid design while keeping the other hand on the can body below the rim. Peel the lid back with controlled movement, keeping fingers away from the exposed edge. Do not force a jammed ring towards your hand.
- For a can opener, first identify its type and use the maker's attachment instructions. A top-cutting rotary opener usually has jaws that close around the rim and a knob that drives its wheel around the lid; a side-cutting opener attaches differently. Keep the can upright, grip or lock the handles as directed, then turn the knob steadily. If it slips or leaves an uncut section, stop and reposition as directed. Never lever the lid with a kitchen knife.
- Lift the released lid with the opener's lifting feature or tongs, not fingers against the cut metal. A ring-pull lid can be held by its ring. Put the lid somewhere contained immediately, away from food and anyone reaching across the worktop.
- Do not run fingers around the open rim or push them into the can to scrape it out. Use a spoon. Follow local disposal or recycling instructions without leaving sharp edges loose where someone could be cut. Wash the opener after use as its maker directs.
Drain and rinse when the dish calls for it
- Stand the small-hole colander on its stable base in the clean sink, or secure the sieve using supports designed for it. Keep the food above the basin, remove the sink plug and check that water drains freely. Do not balance a handheld sieve loosely while trying to pour. If the recipe wants the can liquid, use a secure support over a receiving bowl large enough for all the liquid.
- Hold the can by its body and tip the contents into the sieve slowly. Use a spoon to release remaining beans without touching the rim.
- For beans in water going into this practice, rinse briefly under cold running water while moving them gently with the spoon. Let excess water drip away. Rinsing changes the liquid carried into your dish; it is not a treatment that makes spoiled food safe.
- Measure or weigh the drained amount your recipe needs. Transfer any unused portion straight into a clean covered food container in the fridge, labelled with the opening date. Follow the shorter of the can's after-opening limit and 48 hours; do not keep leftovers in the opened can.
Warm a small batch for a meal
- Stir, whisk, fold and turn: four different movementsMove the spoon across the base and into the corners as the beans heat.
- For about 240 g drained beans, put the beans and 3 tablespoons water in the small saucepan. If the label requires a different preparation method, follow it instead.
- Put the saucepan on a matching hob ring and begin on low to medium-low heat. Stir across the base so the beans move rather than sticking. If the label allows this method, once the liquid bubbles gently continue until the centres of the beans are steaming hot; about 3 to 5 minutes is a checking range, not a substitute for the pack's cooking time. Add another tablespoon of water if the base dries before the centres are hot.
- Lift a bean onto a clean spoon and split it to check that the middle is hot as well as the surface. Allow the test portion to cool before tasting. The beans should already be tender; this is warming, not a way to soften raw dried beans.
- Switch the ring off. Use dry gloves if the handle is hot and put the pan level on the trivet. Spoon the beans into the bowl, leaving unwanted liquid behind. For an optional simple mash, steady the bowl on the counter and press the soft beans against it with a fork, then stir in 1 measured teaspoon (5 ml) of oil if wanted. Cool a spoonful before tasting and add seasoning in small amounts.
- Serve promptly as a side, or use in a prepared sauce. For beans in tomato sauce, stir the drained beans into the finished sauce and heat gently until both sauce and bean centres are steaming hot.
Use and store deliberately
- Make a simple tomato sauce from passataMake a complete sauce to use with the beans.
- Storage and reheating basicsFollow cooling and reheating steps for leftovers.
Cool leftover cooked beans promptly in shallow portions, refrigerate within one to two hours and use within 48 hours or freeze, respecting a shorter product limit. Reheat only once until steaming hot throughout. Keep track when an earlier dish is being reused; stirring old leftovers into new sauce does not restart their storage clock.
Sources and further reading
- FDA: avoiding damaged food packaging
- Food Standards Agency: chilling, freezing and defrosting
- Food Standards Agency: cooking and reheating food
- Waitrose: example canned cannellini bean preparation and storage label
- Food Standards Agency: canned food and raw kidney bean questions
- OXO: Smooth Edge can opener use instructions