
Meat And Poultry
Cook a plain chicken breast in the oven
Learn a small, plain first attempt: open the pack, prepare the dish, cook, check the centre and serve without mixing raw and cooked equipment.
Before you begin
- Clean and set up your kitchen before cookingSeparate raw-contact equipment from clean serving equipment.
- Use an oven: settings, preheating, shelves and the grillSelect the oven mode, preheat and handle a hot tray.
- Kitchen thermometer basicsPlace and clean the probe, and use temperature with its holding time.
- Measuring accurately without stressUse the scales, jug or marked spoons before heating, rather than guessing the starting amount.
Choose a straightforward piece
- Read food labels before you cookCheck dates, ingredients and the actual cooking directions.
- Storage and reheating basicsAllow the food to thaw fully in the fridge before this method.
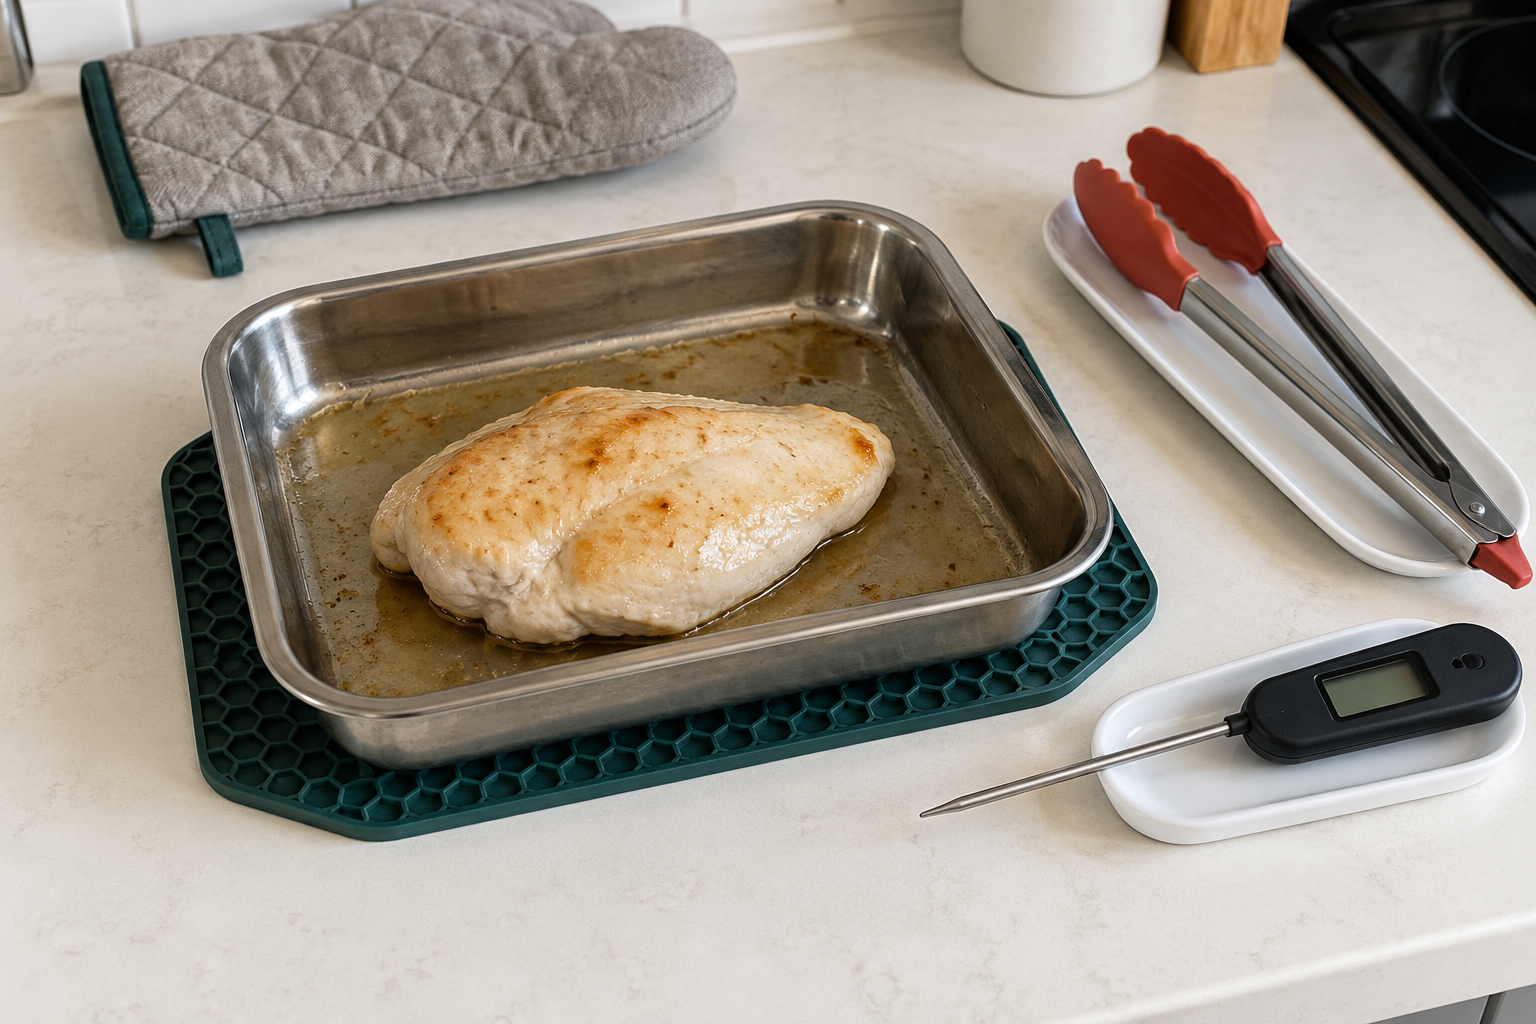
Use one plain boneless, skinless chicken breast around 150 to 200 g, chilled or fully defrosted in the fridge. Check its use-by and after-opening instructions. This method is not for a frozen breast, a whole bird, a stuffed piece or a product with its own coating and special instructions. Keep it chilled while setting up. For a frozen starting piece, follow the linked full fridge-defrosting routine first and cook within 24 hours of complete thawing or a shorter label limit; a frozen or partly frozen centre is outside this method.
Boneless means the main bone has been removed, not that you should ignore any unexpected hard fragment. Start with a prepared fillet so you can concentrate on handling and doneness. A plain piece also makes it easier to learn the method before adding marinades or fillings.
Prepare the work area
- One chicken breast, 1 teaspoon cooking oil and optional pepper or a small pinch of salt. Measure seasoning into a small dish before opening the chicken, so contaminated hands do not touch shared jars.
- A small unlined rimmed metal oven dish rated for the setting, raw-transfer tongs and separate clean serving tongs, a raw-contact tool rest, clean plate, working food probe, seconds timer, two dry oven gloves and tray-sized trivet. Have a marked teaspoon for the oil, optional seasoning dish and disposable paper for blotting. Clean kitchen scissors open a pack only if its tab will not peel. Whole serving needs no knife; for optional slices also set out a clean stable board, sharp knife and fork.
- Set up a separate place for packaging and used tongs. Keep salad, bread and other food that will not be cooked away from raw chicken and its juices. Do not wash the chicken.
Prepare and bake
- Clean and set up your kitchen before cookingPrepare separate raw-contact and serving areas.
- Use an oven: settings, preheating, shelves and the grillRehearse the cold dish route before loading a hot oven.
- Set a shelf near the oven middle while cold, then preheat to 200 degrees C conventional or 180 degrees C fan. Follow a different product-specific method if your pack requires it.
- With the packet supported on the raw preparation area, peel back its opening tab. If scissors are needed, keep the packet on the counter and cut away from fingers; set those scissors aside with raw-contact tools. Do not slash it with a knife or rinse the chicken. If very wet, blot with disposable paper and bin it. Use the raw tongs to put the breast flat into the cold dish, not folded under itself.
- Add the measured oil and turn the breast gently with the tongs to coat it. Add the optional measured seasoning. Put the raw-contact tongs aside for cleaning, dispose of the packaging and wash hands before touching controls or clean equipment. Clean any raw-contact spills using the setup lesson, and do not reuse those tongs for cooked chicken until properly washed.
- Put the dish on the middle shelf and set a reminder for 20 minutes. A breast of this size often takes roughly 20 to 30 minutes, but shape, thickness and the oven change the time. The reminder is a point to check, not proof of doneness.
- At the reminder, use dry gloves to put the dish on the trivet. Close the oven door while you check, rather than leaning over its heat. Be aware that the cooking liquid and dish remain hot.
Check the centre, then serve
- Kitchen thermometer basicsPractise placing the sensing area and timing a continuous hold.
- Thermometer cleaning and careClean before checking and again after an undercooked reading.
- Knife confidence: the safe claw gripPrepare a clean stable board for optional serving slices.
- Insert the clean probe from the side into the centre of the thickest part, keeping its sensing area away from the dish. Wait for a stable reading and check another thick point. Use the lowest relevant result.
- For this first attempt choose at least 75 degrees C continuously for 30 seconds. Once the lowest checked thick centre reaches 75, start the seconds timer and keep the sensing area in that centre with the dish on its trivet. If it falls below 75, return to cooking and repeat a full check with a cleaned probe. The linked probe lesson explains equivalent longer holds; a brief number or subsequent rest is not the verified interval.
- If below target, return the dish to the oven for another short interval, about 3 to 5 minutes, and check again with a cleaned probe. If the surface is darkening too quickly, lower the oven by about 20 degrees C and continue until the centre is safely cooked. Do not stop just to preserve a pale or juicy-looking middle.
- Once the check is satisfied, switch the oven off. With the dish on its trivet, use the separate clean tongs to transfer the breast low onto the clean counter-supported plate. Rest about 5 minutes before serving, separately from the verified hold. Let a small first bite cool; hot juices can burn. Leave the empty dish safely supported to cool and clean the probe and other tools.
- You may serve the breast whole with bread or a ready-to-eat side; slicing is optional. For slices, use the knife lesson to stabilise a clean board away from raw-contact equipment. Hold the hot meat with a fork, keep fork and fingers clear of the blade, and cut short slices across the visible lengthwise muscle lines. If you cannot see those lines, simply make manageable slices with a controlled stroke; never grip hot meat in your fingers. Do not begin another lengthy cooking job while the chicken waits.
Make the next attempt more comfortable
- Dry chicken rescueSlice and sauce a safely cooked dry piece.
- Boil and steam vegetables without guessingMake a simple vegetable side.
- Storage and reheating basicsCool promptly, label and reheat only once.
If it is dry but safely cooked, serve it as small pieces, or use the linked optional rescue sauce in another planned attempt. That sauce is not a safety rescue and is not required to finish this first task. Next time choose a similar thickness, use the first checking reminder and avoid an unnecessary long extra bake after the full centre check. Do not solve dryness by skipping that check.
Cool leftovers in shallow portions and refrigerate within one to two hours. Use within 48 hours or freeze, following a shorter product limit when relevant. Reheat only once until steaming hot throughout. Keep the cooked portion away from the raw-contact board and tongs throughout.