
Essentials
When to replace kitchen equipment
A beginner guide to spotting warped trays, scratched pans, loose handles and worn tools without replacing everything too soon.
Before you begin
- Clean and set up your kitchen before cookingPrepare a clean workspace and clean the equipment afterwards.
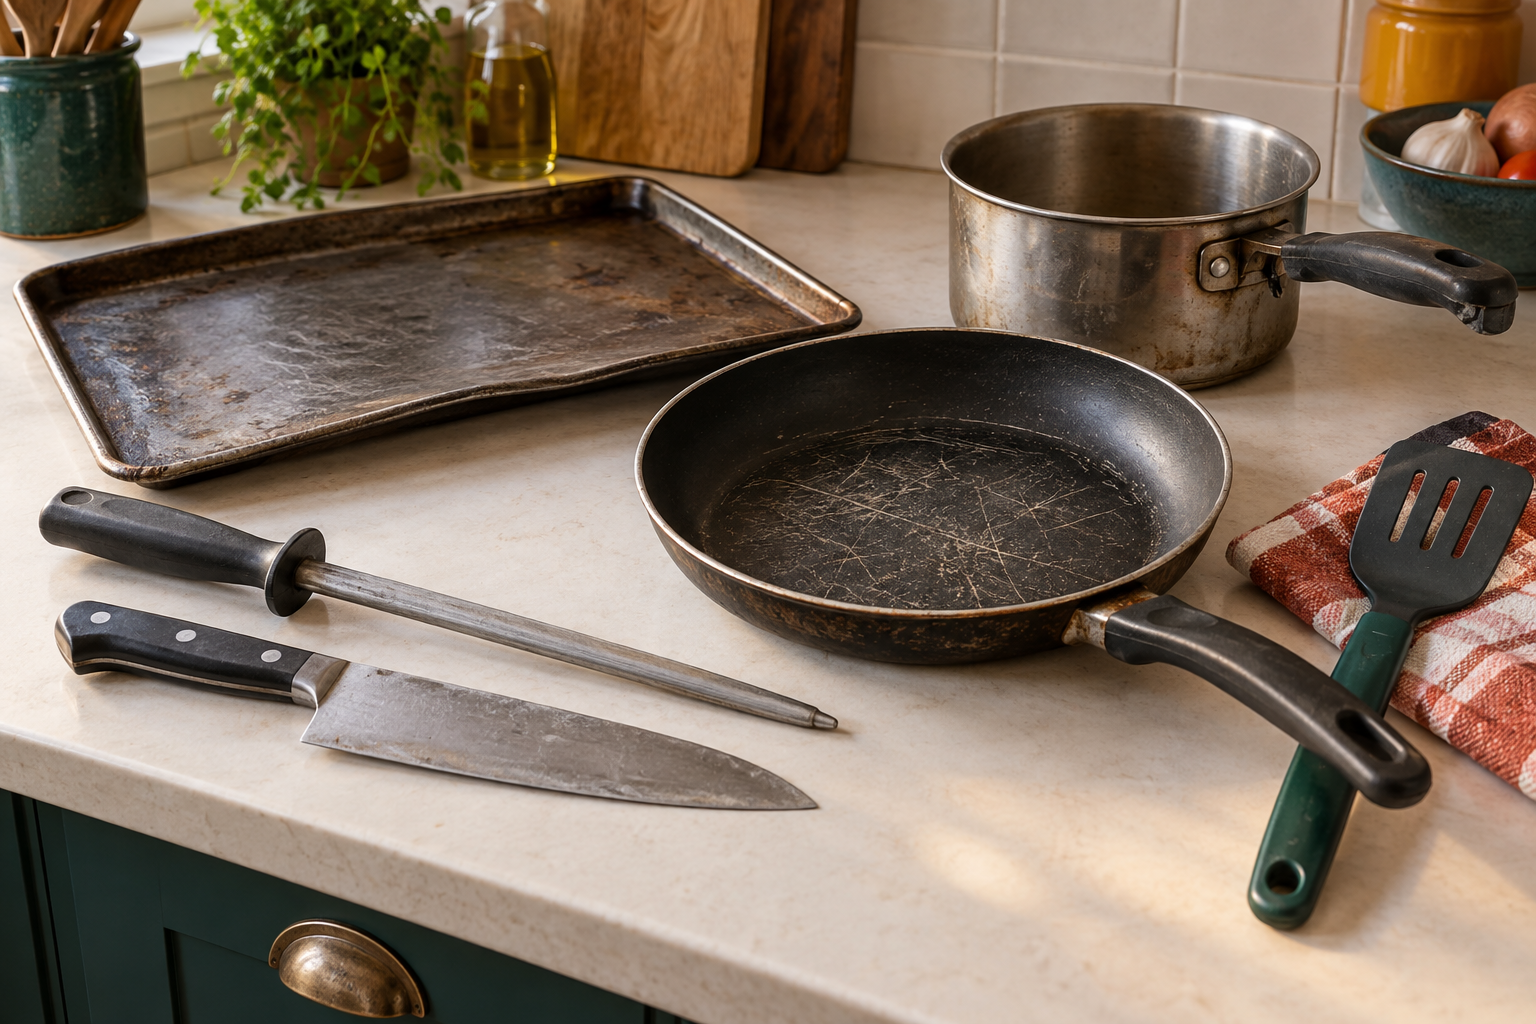
Judge condition rather than age alone
A sound pan may last many years, while a loose handle can make a newer one unsafe immediately. Regularly check the parts that carry weight, contact food or connect to electricity. Cleaning can fix residue, but it cannot repair a cracked bowl or exposed wire. Stop using equipment with a safety defect until it is properly repaired or replaced.
Reasons to stop and inspect
- A pan handle that moves, a base that rocks, or a lid with a loose knob. Do not test a doubtful handle with a pan of hot water.
- Non-stick coating that is peeling, flaking, blistered or extensively scratched. Stop using a badly damaged coating and ask the maker about replacement; do not sand it down or try bare-iron seasoning to rebuild it. A light surface mark and a coating coming away are different, so do not declare every stained pan unsafe by its colour alone.
- A chipped drinking rim, cracked food container or damaged glass oven dish. Heat can worsen damage.
- A chopping board with deep grooves or splits that cannot be cleaned effectively.
- A knife with a damaged handle, loose blade or significant chips. A merely blunt blade may need suitable sharpening instead.
- Electrical equipment with a damaged cable, plug or casing, burn marks, burning smell, crackling or abnormal behaviour. Stop using it. If there is no fire or exposed live danger and the intact plug/switch is safely reachable with dry hands, switch off and unplug by the plug body, not the cable. Do not touch wet or damaged electrical parts, reach over heat, open a housing or tape a cable repair. Contact the maker, retailer or a qualified repairer; do not plug it back in to prove the fault has gone.
- Smoke or flames are an emergency, not a maintenance check. Do not carry a burning pan or appliance, add water, or tackle the fire. Switch off only if safe, leave, close the door, warn others and call 999 from safety. Do not stay to unplug a smoking appliance if doing so puts you at risk.
Do a short equipment check
- Clean and set up your kitchen before cookingWash ordinary equipment without leaving heat on.
- Frying pans, saucepans and stock pots: choose by the jobCheck the actual surface, hob and separate oven permissions.
- Choose a cool empty ordinary saucepan and its instructions for the first practice. Turn the hob off and clear a well-lit stable worktop. Have washing-up liquid, comfortably warm water, a suitable soft sponge or brush, clean drying cloth or rack, a note label and pen. No hot water load, appliance opening or sharp-tool test is needed.
- Before washing, look for loose handle joints, a rocking base, a damaged rim, peeling coating or damaged lid. If unsafe or sharp damage is obvious, isolate it without running fingers over it or filling it. For a sound pan, wash and dry by its identified maker method, then inspect again in good light. This handwash task is not permission to immerse an electrical base.
- Put the sound empty dry pan on its matching unlit ring to check whether it sits steadily; do not switch on. Gently check handle security without levering it or loading it with boiling water. If a joint moves, a base rocks or coating comes away, set it aside. Do not rub or scrape a damaged surface to remove evidence.
- Label a doubtful item do not use and put it where it cannot return to food preparation accidentally. Keep sharp or broken parts safely contained, not loose in a drawer or ordinary open bin. Photograph or note the defect and model details for the maker without heating or taking it apart.
- Choose one outcome: return a clean sound pan to use; isolate it pending the maker's approved repair or assessment; or replace and dispose of it using local instructions for that material. Repairable parts are model-specific: do not tighten unknown rivets, glue a handle, exchange unrelated seals or repair wiring by trial. Follow the maker or qualified repairer's checks before a repaired item returns to cooking.
Residue is not always damage
- Can you wash a cast-iron pan?Distinguish routine bare-iron care from a damaged coating.
Staining on stainless steel does not automatically mean the pan is worn out. Clean it using an appropriate method and inspect again. A cast-iron pan with a little surface rust can often be restored according to its maker. A cracked pan is different. Do not apply a restoration method intended for bare cast iron to a coated or enamelled surface.
Start with ordinary maker-permitted washing, not a stronger chemical mixture or hot cleaning trick. Persistent deposits need the actual product's method; never mix chemicals or scrape a coated pan with a knife. Bare-iron restoration is a separate full method after identifying that surface. Do not diagnose hidden corrosion or a failed electrical appliance from colour alone.
Prevent the next problem
- Knife confidence: the safe claw gripKeep the blade visible, wash separately and store securely.
- Oven dishes and bakeware are not all interchangeableUse the full dish-specific heat and thermal-change checks.
- Storage containers: sizes, lids and useful portionsCheck the actual container and lid permissions.
Use utensils suited to the surface, avoid sudden temperature changes, and do not stack sharp or rough objects directly against vulnerable coatings. Let hot glass cool as directed rather than putting it on a cold wet surface. Dry blades and store them so edges are protected and hands cannot meet them unexpectedly.
Only store tools after cleaning and fully drying. Nest sound pans with suitable dry surface protection if the maker allows it; do not leave water trapped between them. Keep sharp edges in a suitable separate holder, not pressed against coatings. An oven dish, pan lid and plastic tub each has different temperature and lid rules; dishwasher permission is not oven permission.
Replace the job, not the whole cupboard
If one frying pan is failing, identify its size, hob compatibility and the meals it serves before replacing it. A large matching set may duplicate tools you do not use. Keep a simple note of what failed and why, so the next choice solves the actual problem.
Sources and further reading
- Tefal: cookware first use, hob suitability, handles, coatings and cleaning
- Le Creuset: surface-specific cookware care and use
- Pyrex: chipped glass, thermal changes and stacking precautions
- Electrical Safety First: kitchen appliances, damaged plugs and ventilation
- Victorinox: cutting-board materials, stability and wooden-board care
- Food Standards Agency: cleaning food surfaces and equipment
- GOV.UK: cooking, smoking oil and fire response