
Charts And References
Measuring accurately without stress
How to read level spoons, measuring jugs and scales, and when accuracy matters more than a rough handful.
Before you begin
- Clean and set up your kitchen before cookingPrepare clean equipment, safe handles and a heatproof landing space.
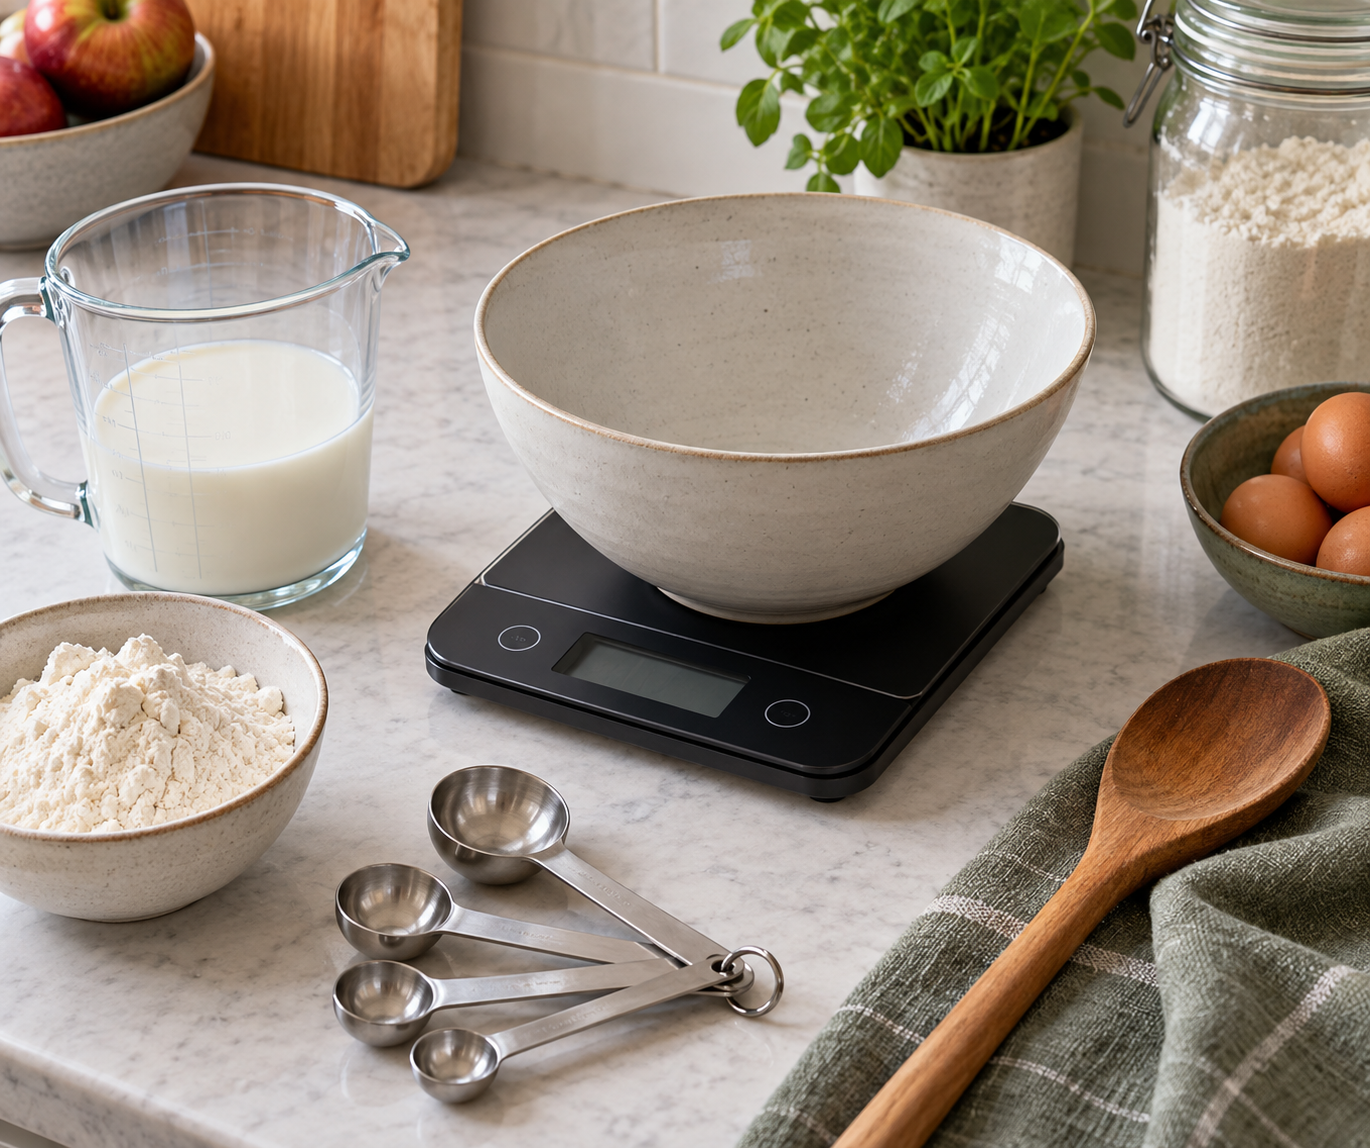
Weight and volume answer different questions
Grams measure mass; millilitres measure volume. A jug marked 200 ml tells you how much space a liquid occupies, not the weight of every ingredient placed inside it. Water is close to one gram per millilitre in ordinary kitchen use, but flour, oil and honey are different. Follow the unit written in the recipe.
Choose the tool for the amount
- Digital scales for flour, sugar, butter, rice and other ingredients specified in grams.
- A clear measuring jug with readable markings for larger liquid amounts.
- Marked measuring spoons for small amounts such as a teaspoon of baking powder or a tablespoon of oil.
- A small separate bowl for ingredients that would be difficult to remove if you added too much.
- A flat worktop and good light so the number or marking is visible.
Weigh an ingredient with tare
- Put the scales on a level stable surface and switch them on. Select grams if that is the recipe unit.
- Place the empty mixing bowl on the scales. Press tare or zero so the display returns to zero; this removes the bowl's weight from the reading.
- Add the ingredient gradually. Slow down before reaching the target rather than pouring a full packet quickly.
- If adding a second ingredient into the same bowl, note the first amount and press tare again only when ready.
- For a strong or difficult-to-remove ingredient, weigh it in a separate bowl and transfer once correct.
- Check the scales' capacity before using a very heavy bowl. Clean spills without immersing the electronics.
- The bowl and ingredients together must stay below the stated maximum load, even after you press tare. Tare changes the displayed number; it does not increase the scales' capacity. If the display says overload, remove the load and start again with a lighter bowl or smaller portions.
Read a jug at eye level
Put the jug on the worktop instead of holding it tilted in the air. Pour to just below the desired mark, then bend to see the liquid surface at eye level and add the final amount slowly. Choose a jug with markings suitable for the quantity; a large jug with 100 ml divisions is a poor choice for measuring 15 ml.
Look for the ml scale rather than fluid ounces or cups on the same jug. With water, the surface may curve at the edges; read the bottom of that curve at the marked line. Do not put a jug on a hot hob to get a better view. Read clear, cool liquids for your first practice.
Level a dry measuring spoon
Fill the spoon, then sweep a straight edge across its rim so the ingredient is level. Do not press it down unless the recipe asks for packing. A heaped teaspoon is a variable amount and can make a noticeable difference with salt or raising agents. Keep tsp and tbsp distinct: with this metric set, one tablespoon is three teaspoons.
tsp is teaspoon, 5 ml; tbsp is tablespoon, 15 ml. For a liquid, hold the correct measuring spoon level over a separate bowl and fill just to the rim, then transfer it without tilting early. For a dry ingredient, use the back of a table knife rather than a sharp cutting edge to level the spoon. 1 kg is 1,000 g and 1 litre is 1,000 ml; do not switch the scale to a liquid setting when the recipe asks for grams.
Accuracy matters differently by task
Baking relies on ratios, so weigh carefully and scale all ingredients together. A soup can often tolerate flexible vegetable quantities, while its salt still benefits from small additions and tasting. For a first portioning estimate, many adults use around 75 to 100 g dried pasta or 60 to 75 g dry rice as part of a meal, adjusted for appetite and sides; these are practical starting amounts, not nutritional prescriptions.
When a number goes wrong
Stop before adding the next ingredient. If the extra ingredient is still separate and easy to remove, correct it with a clean spoon. Once mixed, do not pretend the original ratio remains unchanged. For baking, either recalculate the whole batch accurately or restart the small stage. Keep a brief note of any deliberate adjustment for next time.
A no-heat practice with water
- Use room-temperature drinking water, a jug with a clear 100 ml mark, a 5 ml teaspoon measure, a small dry bowl, scales and a clean cloth for spills. Keep the scales well away from the sink.
- Put the jug flat on the worktop. Pour water slowly to just below 100 ml, then read at eye level and add a little at a time until the liquid reaches the mark. The outcome is 100 ml by that jug's scale; you have not measured flour or oil in grams.
- Put the empty bowl on the scales, select g and press tare. Use the jug to add water gradually until the display reads 50 g. If you go over, lift out a little with the spoon and wait for the number to settle. This exercise deliberately weighs water; it does not make the jug and scales interchangeable for every ingredient.
- Lift the bowl off, empty it into the sink and dry it. Fill the marked 5 ml spoon level with water over the bowl and tip it in. Repeat twice: three level 5 ml spoonfuls give 15 ml. Do not use an unmarked eating spoon for this comparison.
- Empty and wash the bowl, spoon and jug. Switch off the scales and wipe them as their instructions allow, keeping water away from the display and battery compartment. You have practised reading volume, zeroing a bowl and measuring a small amount without heating or wasting ingredients.