
Knife And Prep
Knife sharpening and honing for beginners
Understand a dull blade, choose a suitable maintenance method and avoid the force that makes cutting harder to control.
Before you begin
- Knife confidence: the safe claw gripPractise the grip and stable board before adding a new cut.
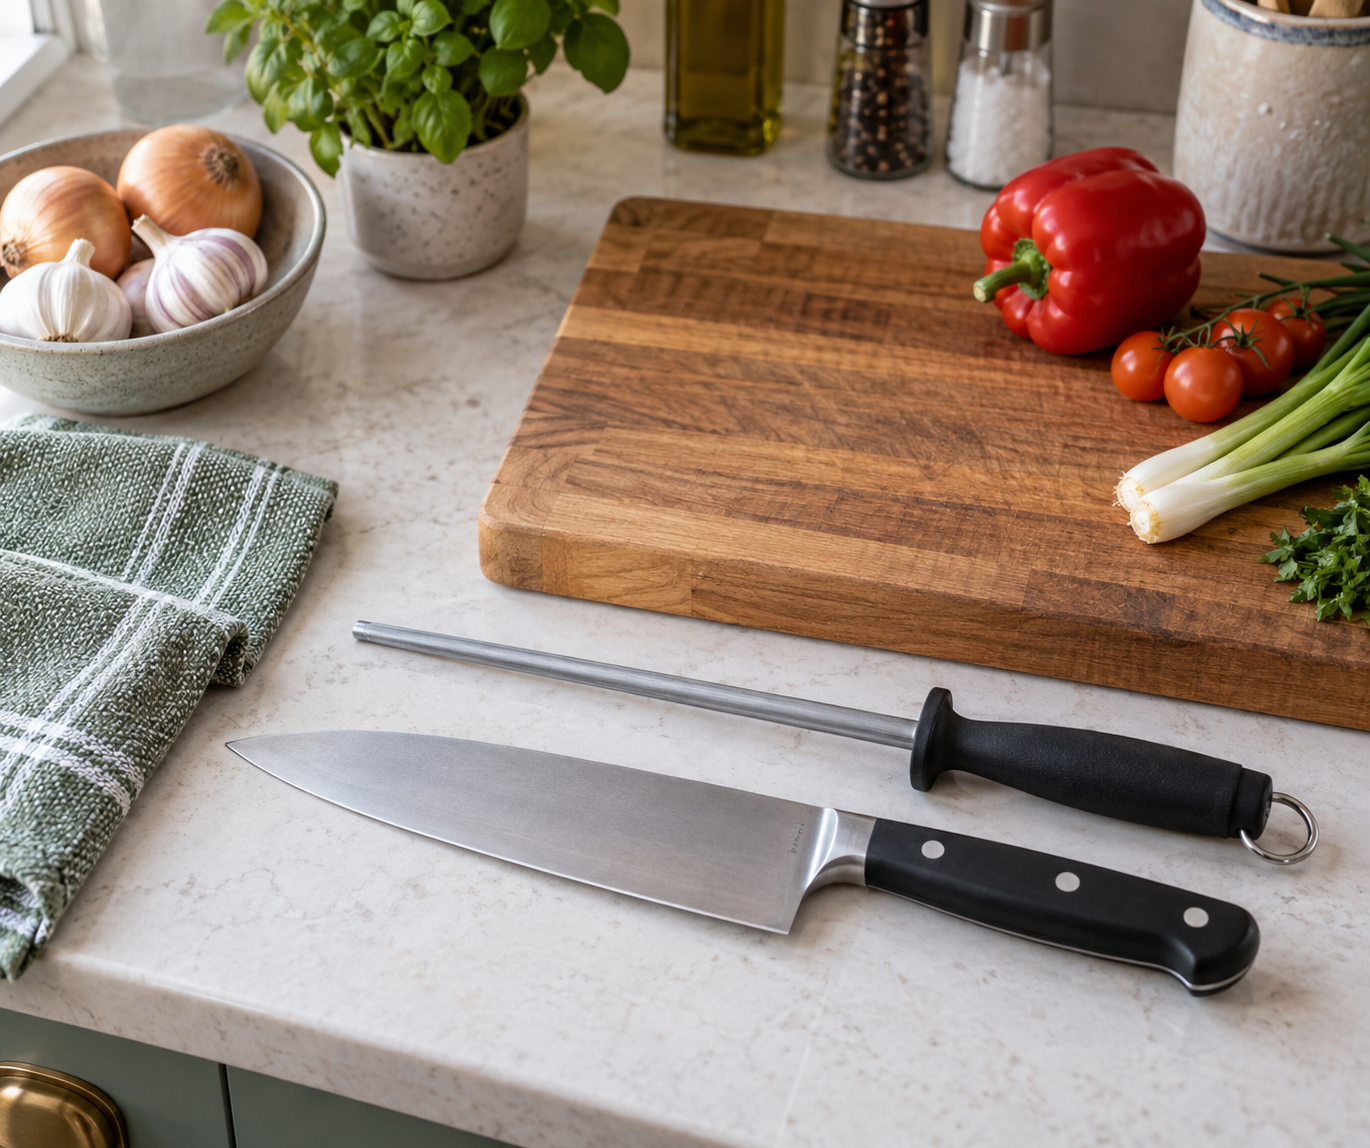
Sharpening and honing do different jobs
Sharpening removes a small amount of metal to form a cutting edge. A traditional steel honing rod mainly realigns an edge that has bent slightly in use. Ceramic and diamond rods can remove metal too. A honing rod cannot always restore a badly worn blade, so repeated honing may not solve the problem.
A dull knife tends to crush a tomato skin or slide before biting into an onion. You may find yourself pushing harder. A sharp knife still needs careful handling, but it usually cuts with less force. Never test sharpness by running a finger along the blade.
Learn ordinary knife handling first. This is a separate maintenance session with no hob on, not something to try while food cooks. Sharpness does not make an unsupported grip safe. A damaged blade or loose handle needs assessment before either maintenance or another cut.
Choose the method for your knife
- Knife confidence: the safe claw gripComplete the separate cold grip and cucumber practice first.
- When to replace kitchen equipmentIsolate a chipped edge or loose handle rather than grinding it at home.
Check the knife maker's instructions. Blade angles and materials differ. A guided sharpener made for your type of plain-edged knife can be easier to learn than freehand stones. Serrated bread knives, ceramic knives and some thin Japanese blades require different care. Do not put them into a generic sharpener unless its instructions explicitly allow it.
Professional sharpening is a reasonable starting choice, especially for a damaged or expensive blade. There is no need to learn maintenance and a new knife grip in the same session. A chipped edge or loose handle needs assessment; pushing harder through food is not a repair.
Set out the clean dry knife, the compatible device and its instructions, a clear stable worktop, a non-slip board, washing-up liquid and a suitable washing brush, clean drying cloth and the knife's protected storage. Put food and food bowls elsewhere until metal residue has been cleaned away. For the final cutting check have one washed cucumber and a clean bowl, using the linked knife lesson's complete preparation and grip. No finger, thumbnail or hand-held paper test is needed.
Use a compatible guided sharpener
- Knife confidence: the safe claw gripUse the full flat-face and slow cutting sequence for the food check.
- Clean and set up your kitchen before cookingWash a visible knife separately and remove residue before food returns.
- Identify the exact knife and sharpener. This procedure is only for a guarded manual pull-through design whose instructions allow that blade and heel-to-tip pulls. It is not the method for an electric wheel, whetstone, serrated knife or ceramic knife. Read slot choice, direction, pressure and maximum passes before bringing the knife to the device.
- Put the sharpener flat on its permitted non-slip surface, clear of the counter edge. With the knife parked separately, test that its grip is secure. Keep the supporting hand entirely behind the device's guard. Stand back enough that the full pull ends clear of your body and clothes; no person or object should be in that travel path.
- Choose the actual slot. On ZWILLING's four-stage model, for example, the manufacturer distinguishes 15-degree Western and 10-degree Asian slots, then coarse sharpening and fine finishing. Those are that model's settings, not labels to apply to another sharpener or permission to put every knife in it. Regular fine maintenance and a worn edge may require different stages. If the matching slot is unknown, stop and check rather than trying each one.
- The heel is the end of the cutting edge nearest the handle. Holding the knife only by its handle, set the heel in the chosen slot in the orientation shown by that device. For the specified upright heel-to-tip design, pull the knife smoothly towards you through the slot, with the full travel ending clear of your body, so the slot works along the edge to the tip. Use the maker's stated pressure and passes; do not lean body weight onto it. Lift the blade clear before bringing it back to the start. Do not saw backwards and forwards in a slot intended for one-way pulls.
- Stop at the stated stage limit. If the sharpener shifts, fingers approach the blade path or the knife catches, stop the motion and park the knife visibly on the clear board with edge away from the supporting hand. Resolve the setup before any further pass. Do not hold the sharpener in the air or continue indefinitely because cutting still feels difficult.
- With the knife parked, put the sharpener aside for its own maker-permitted cleaning. Wash the knife separately with washing-up liquid and water, using a brush rather than fingers against the edge, then rinse and carefully dry with the edge directed away from your hands. Do not leave the blade under water. Clean metal residue from the board and worktop, rinse as the cleaning product requires and dry; wash your hands before bringing food back.
- On the now-clean stable board, complete the linked knife lesson: cut a manageable 10 cm cucumber section, make the first lengthways division with its bridge grip, place a flat face down and make a few slow 5 mm claw-grip slices. Leave the unsafe small end. An edge that still needs extra force needs the correct maintenance assessment, not a harder test. Put the cucumber away as its label requires, wash and dry the knife and board, clean the device as instructed and return both sharp tools to protected storage.
If you are learning a honing rod
- Knife confidence: the safe claw gripUse the full flat-face and slow cutting sequence for the food check.
- Clean and set up your kitchen before cookingWash a visible knife separately and remove residue before food returns.
- Read both makers' instructions. Use a compatible plain-edged steel knife and guarded rod, with the rod suitable for the knife's steel and hardness. A ceramic or diamond rod may abrade rather than merely realign. Do not use these directions for serrations, ceramic blades or an unidentified rod. The working length must allow this blade's full controlled stroke without hitting the board.
- Use a clean dry rod and knife on a clear stable board with suitable non-slip support. Stand the rod vertically, tip securely on the board, as its instructions permit. Test stability before bringing the knife near it. Hold only the handle above its guard with the non-knife hand: fingertips must not curl below the guard onto the exposed rod.
- Find the angle for this knife, not a universal setting. ZWILLING specifies about 15 degrees for its standard knives and smaller angles for certain other ranges. The angle is between the blade's flat face and the rod, not the tilt of the rod on the board. Use the maker's angle guide or demonstration to establish it before a moving stroke. Get a competent demonstration or choose a compatible guided sharpener if you cannot hold it reliably; guessing harder is not practice.
- Keep the knife hand on its handle. Set the edge's heel against the rod below the guard with the supporting hand well above the working area. Move slowly down the rod and along the knife from heel towards tip in one controlled stroke, keeping the angle constant. The knife must travel away from the supporting hand and finish clear of the board, not strike it. Lift the knife away to reset on the opposite side; keep the rod still instead of swinging both tools in the air.
- Alternate the two blade faces for the maker's specified strokes and pressure, reducing pressure for its finishing strokes. Stop and park the knife if the rod slips, a hand enters the travel path or you lose the angle. There is no benefit to fast strokes or a dramatic clashing sound. A badly worn edge may need sharpening rather than more honing.
- Finish with the same separate knife wash, rinse, careful dry and residue cleanup described above; clean the rod by its own instructions. Only then use the full cucumber cutting check, followed by food storage, tool washing and protected storage. The rod session is not complete while metal residue or an exposed blade remains on the worktop.
Keep the edge useful
- Chopping boards: material and stabilityProtect the edge and stabilise the cutting surface.
- Clean and set up your kitchen before cookingClean food-contact tools and separate raw-food work.
Use a sound suitable wooden or plastic board, not glass, stone or a dinner plate. Park the knife before gathering cut food; move pieces with a bench scraper or spoon rather than pulling them off the edge with your hand. Do not scrape the cutting edge sideways across the board. Wash and dry the blade separately, then use its matching guard, fitted drawer holder or another permitted secure holder. Good daily care reduces maintenance without replacing the safe grip.
Sources and further reading
- ZWILLING: knife-specific honing angles, rod technique and sharpening methods
- ZWILLING: four-stage pull-through model slot choices and directions
- HSE: suitable knives, stable cutting, separate washing and protected storage
- HSE-hosted industry example: stable steel, guarded hand and washing off filings
- Food Standards Agency: cleaning hands, surfaces and food-contact equipment