Essentials
Can you wash a cast-iron pan?
Clean bare cast iron, understand seasoning and distinguish it from an enamelled surface.
Before you begin
- Frying pans, saucepans and stock pots: choose by the jobIdentify bare iron versus enamel or another coating.
- Clean and set up your kitchen before cookingClean food-contact tools and separate raw-food work.
Yes, the pan should be cleaned
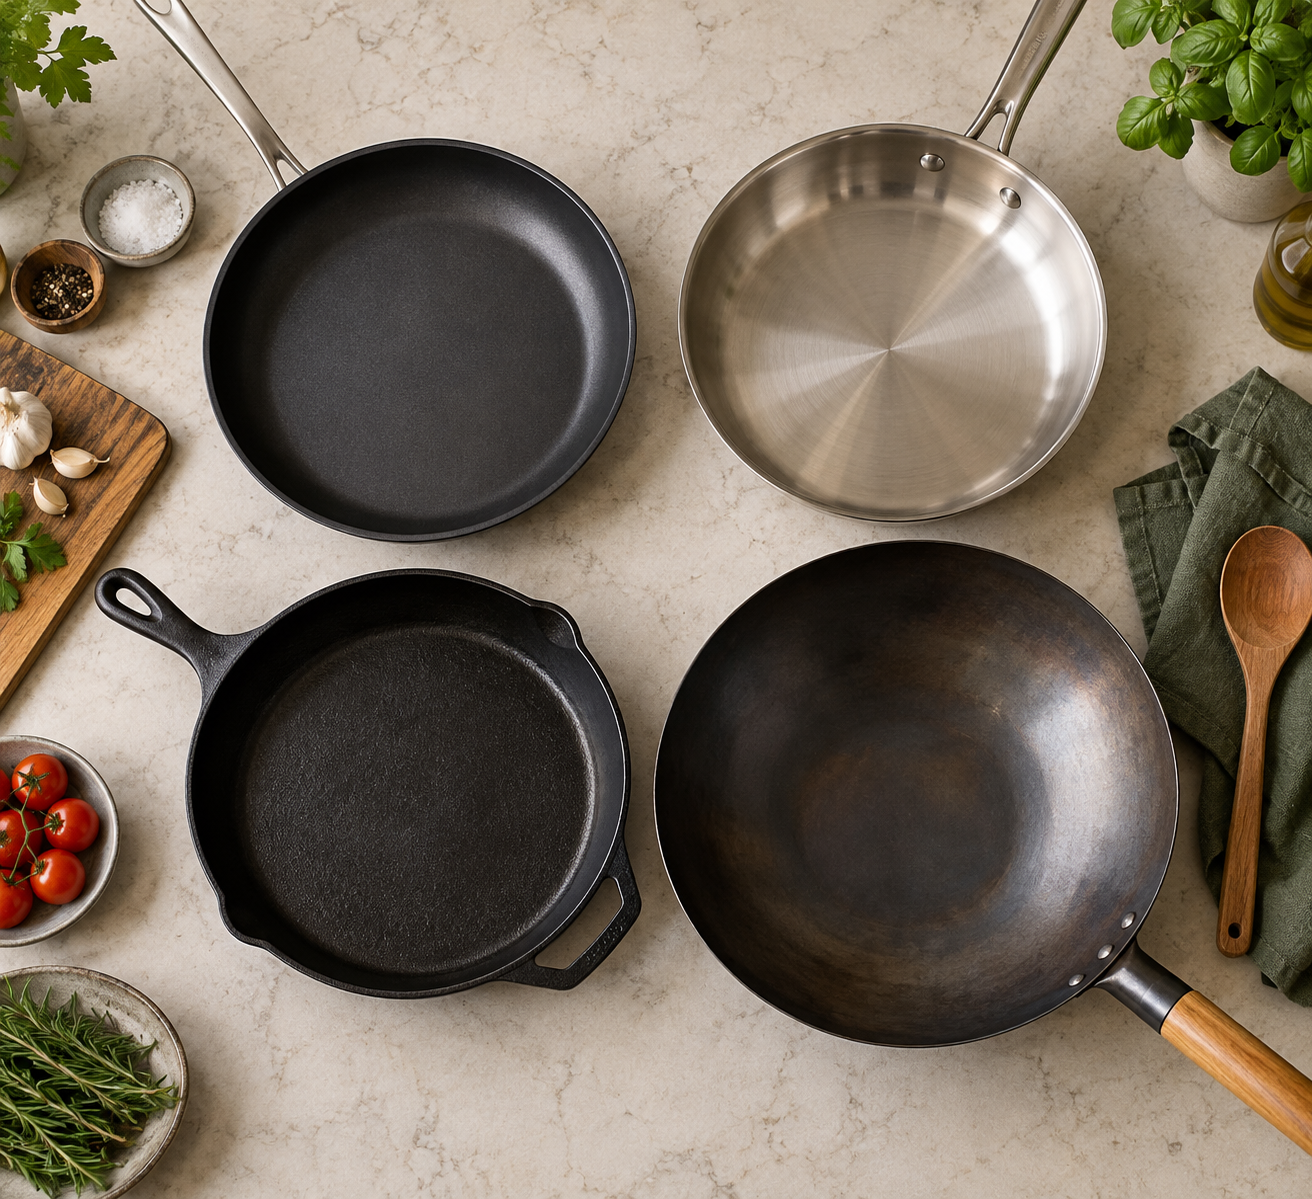
Bare cast iron has a protective seasoning layer made from oil that has bonded to the surface through heating. Seasoning is not the same as old food or a layer of grease. A dirty pan does not become better seasoned by being left unwashed. Manufacturer Lodge permits washing its seasoned cast iron with water and a little dish soap.
Enamelled cast iron has a glass-like coating and needs different care. It should not be treated as bare iron or scrubbed to expose the metal underneath. Identify the surface and follow the maker's instructions before using abrasives or attempting a repair.
Choose the routine for the identified surface. A dark interior does not prove bare iron: enamel can be dark too. If the product is unidentified, use its maker or seller to establish care before scrubbing or heating it. The first bare-iron exercise is an ordinary cool, sound pan wash; you do not need to create burnt food or rust to practise. The separate enamel routine below does not use abrasives or seasoning.
For everyday bare-iron care
- One known, sound bare-iron pan around 20 to 26 cm and its maker's care instructions. Let it cool fully before this first washing practice. Check the empty weight is comfortable: cast iron can be heavy, so do not attempt a wet one-handed lift you cannot control.
- Warm water comfortable for washing, ordinary washing-up liquid permitted by the maker, a suitable non-damaging brush or scraper, clean drying cloth or kitchen paper and a marked 1/4 teaspoon measure of plain permitted cooking oil. Plain rapeseed oil is an example used for iron care; check the actual product. A wet oily coating is not the target.
- A clear sink and stable washing position, clean drying place and separate clean cloth for surfaces. Do not hide knives in the sink or lean the pan where it can topple. Oil and wash this tool away from ready-to-eat food.
- For a later heated-water cleaning or maker-permitted hob drying step, add a compatible hob, two dry gloves suited to the grips, full stable trivet and timer. For oven reseasoning, separately check every additional item and limit listed in that procedure before any heat.
Wash, dry and protect
- Start with the pan fully cool and heat off. Support it securely for washing. Remove loose scraps into the bin using a permitted scraper or brush, not your fingers against rough metal. Do not run cold water into a very hot pan.
- Wash inside and outside with warm water and a small amount of the permitted washing-up liquid, using the appropriate brush. Rinse off food and detergent. Do not leave bare iron soaking or substitute a dishwasher for its hand-wash routine.
- Towel-dry the inside, rim, outside base and handle junction completely. This finishes drying without a heating task. If your actual maker calls for a brief low-hob drying finish, first put the still-supported pan on the compatible ring with gloves and trivet ready, and move paper, oil and cloths away. Stay beside it on low heat only until visible moisture has evaporated, then switch off immediately; do not heat until it smokes. Move it by its designed grips with dry protection to the full trivet and let it cool fully before paper or oil comes near it.
- On a stable surface with the pan cool and fully dry, place the small measured amount of oil on folded kitchen paper or a suitable clean cloth. Wipe a very thin film over its bare-iron surfaces, including the outside as the maker directs. Use more only in tiny amounts if a surface has not been reached; the 1/4 teaspoon is a starting amount, not a compulsory puddle.
- Use a fresh dry part of the cloth or paper to wipe away visible excess until the surface looks almost dry, without streaks or pools. No hob is on for this protective wipe. Dispose of used paper, wash the measuring tool, clean any oily worktop and wash your hands.
- Store the clean fully dry pan in a dry reachable place. Use a suitable dry separator if stacking is permitted, and do not trap moisture beneath a wet lid. The task is finished when the pan and surrounding area are clean and dry, not when old grease has been hidden under fresh oil.
Sticking and rough patches
- How to use hob heat without guessingLearn the compatible ring and gentle bubbling before a heated cleaning step.
- When to replace kitchen equipmentSeparate structural damage from removable bare-iron residue.
For stubborn food on otherwise sound, identified bare iron, Lodge describes simmering a little water for 3 to 5 minutes, then using an approved scraper after cooling. First confirm this is permitted for your actual pan and hob. With the pan cool, add room-temperature drinking water to cover the stuck patch in a shallow layer, roughly 5 mm, leaving ample headroom. This is a cleaning liquid, not food to taste.
Set the pan securely on the compatible ring, with gloves, full trivet and timer ready and paper or oil away from heat. Bring the water to gentle small bubbles, not a violent boil, then time 3 to 5 minutes while staying beside it. Turn off early if it approaches drying out; do not add water to a scorching dry pan. Switch off and move by the designed grips with dry protection to the full trivet. Let pan and water cool fully before a controlled supported emptying into the clear sink. If its weight makes emptying uncertain, get help rather than tilting a heavy pan one-handed.
Use the permitted brush or scraper on the cooled food residue, then repeat the full wash, rinse, dry and thin protective wipe above. Do not scrape a hot pan with your hands beside steam or leave it soaking for hours.
Rust restoration is separate. Check for cracks, a loose handle and unidentified coating first. A cracked pan or chipped food-contact enamel needs assessment, not home seasoning. Only light rust on sound known bare iron belongs in the maker-approved restoration method below; do not use it on enamel, non-stick coating or unknown metal.
Reseason a suitable bare-iron pan
- Use an oven: settings, preheating, shelves and the grillComplete the actual function, shelf, preheat and loaded cold-grip checks.
- When to replace kitchen equipmentIsolate cracks, handle faults or damaged enamel instead of attempting seasoning.
- Use only a sound all-metal bare-iron pan whose maker permits this treatment, not enamel, wood or plastic handles or unidentified coatings. Lodge specifies 450 to 500 degrees F for one hour. About 230 degrees C conventional is its lower-end example, not a universal pan setting or automatic fan conversion. Check the actual pan and oven instructions agree on the permitted seasoning setting. Remove only accessories the maker directs you to remove.
- Before work, set out the permitted rust-removal tool or metal scouring pad, washing supplies, suitable plain cooking oil, cloth or paper, timer, two dry gloves and full trivet. Choose a rimmed metal catch tray rated for the chosen temperature. In the cold oven, arrange a secure pan shelf with the catch tray on an allowed shelf below, leaving vents clear. Do not line the oven floor. Rehearse gripping, placing and retrieving the cold inverted pan with both gloves: do not heat if its weight or upside-down grip is doubtful.
- With heat off and the pan cool and supported, remove light rust using the actual maker-approved tool. Keep fingers off sharp or rough areas. Wash and rinse inside and outside fully, removing abrasive residue, then dry all surfaces including rim and base. Do not season over damp patches, loose food, an unknown finish or chemical-stripper residue.
- Apply a very thin layer of the permitted oil to inside and outside, starting with a small amount on folded paper or cloth. Wipe off visible excess with a fresh dry part until it looks nearly dry, not glossy with pools. Clear oil, paper and cloths from the oven and hob area before heating. Thick oil can drip and leave tackiness.
- Use the normal oven function and permitted seasoning temperature, not the grill or self-clean cycle. Follow the linked oven lesson's preheating signal and door-heat precautions. With dry gloves and the rehearsed grips, put the pan securely upside down on its shelf above the catch tray. Close the door and set the timer for one hour; a timer does not switch the oven off. Remain available, keep the area clear and ventilate as the appliance instructions permit.
- If there is unexpected heavy smoke, switch off if safe and keep the door closed rather than opening it to investigate. For fire, leave, close the kitchen door and call 999; do not pour water into an oven or pan. Do not use chemical strippers, extra oil, a higher temperature or a self-clean cycle as a shortcut.
- At the end switch the oven off and leave the pan in it to cool fully. Do not plunge it into water or assume a dark handle is cool. Retrieve with the rehearsed grips and dry gloves, landing it on the full trivet. Only once fully cool inspect: the surface should be dry rather than pooled and sticky. Follow the actual maker's troubleshooting for remaining rust or tackiness, not repeated hotter cycles by guesswork.
- Wash the cooled catch tray and other tools as their makers allow, clean any residue from the work area and store the dry pan. This restores a permitted bare-iron surface; it does not repair a crack, strengthen a loose handle or make a different pan oven-safe.
Why a pan becomes sticky
Too much oil left on the surface can create a tacky coating. More oil is not always better. Clean it as directed and use a much thinner protective film next time. Cooking very acidic food for long periods can affect some bare-iron surfaces, so another pan may be easier for a long tomato simmer.
Make maintenance part of the meal
After cooking, leave the pan in a safe cooling place and include it in the washing-up routine. Do not leave it hidden in a sink of water or put bare seasoned iron in a dishwasher unless its maker explicitly permits it. The useful habit is a clean, fully dry pan ready for the next meal, with care suited to its actual surface.
Clean enamel without seasoning
- Frying pans, saucepans and stock pots: choose by the jobCheck the identified cooking surface and its separate care rules.
- When to replace kitchen equipmentGet assessment for chipped enamel, a crack or a loose handle.
- Identify enamel from the actual pan instructions; it may be pale or dark. Start fully cool with no heat on. Check for chips, cracks or a loose handle. Isolate doubtful food-contact enamel for maker assessment rather than scraping it to expose metal.
- Support the pan for its weight in the clear sink. Use warm water, the maker-permitted washing-up liquid and a soft sponge or non-abrasive brush. For stuck food, follow that exact enamel product's permitted soaking or cleaning method, not the bare-iron simmer or steel-wool restoration above.
- Rinse fully and dry inside, outside, rim and handle junction with a clean cloth. Do not season the enamelled cooking surface, scour it with metal or apply a bare-iron oven-repair cycle. A product with an exposed iron rim may have separate rim-care instructions; that does not turn the interior into bare iron.
- Wash and dry the sponge or replace it as needed, clean the sink and store the fully dry pan with permitted dry protection between stacked pieces. Do not substitute a dishwasher unless this actual product allows it.
Sources and further reading
- Lodge: washing, complete drying and thin protective oil
- Lodge: supported cleaning and a 3 to 5 minute water simmer for stuck food
- Lodge: bare-iron rust and tacky seasoning troubleshooting
- Lodge: thin oil, permitted oven reseasoning and cooling in the oven
- Lodge: separate enamel care without seasoning or metal scouring
- GOV.UK: smoke, cooking fire and safe exit
- Food Standards Agency: cleaning hands, surfaces and food-contact equipment