
Eggs
Egg freshness, storage and separating yolks
Understand the float test and yolk colour, store eggs consistently and separate a yolk from its white without rushing.
Before you begin
- Crack an egg and beat it with a forkOpen the egg into a cup and remove shell fragments.
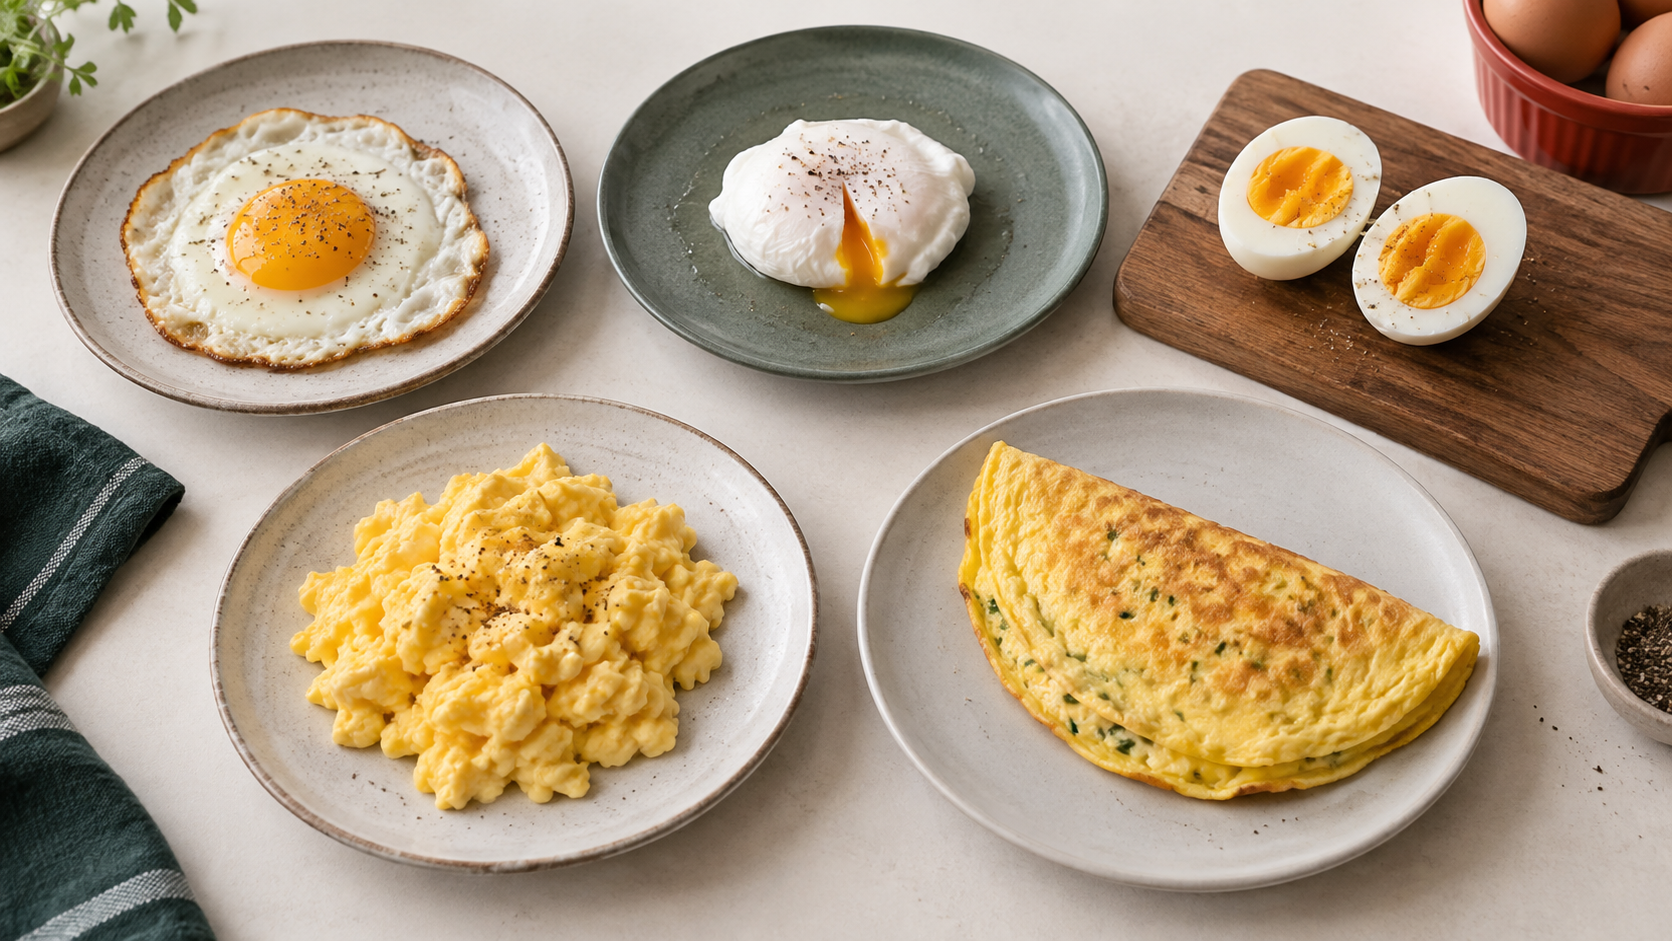
Freshness is not a safety test
An egg's air space grows as it ages, which can make it float in water. That tells you something about age, not whether harmful bacteria are present. Use storage history and the date information rather than treating a floating or sinking egg as a safety certificate. Discard cracked or spoiled eggs. For these first tasks, select eggs within their best-before date. The date is normally on the carton or egg: keep the carton until all its eggs are used. Do not wash a dirty or damaged shell to try to qualify it for this practice.
Yolk colour is mainly affected by the hen's feed. An orange yolk does not prove that an egg is fresher or safer than a pale one. A fresh egg often has a thicker white, which helps it hold together when poached. Older eggs can be easier to peel after boiling, but that is a convenience rather than a reason to ignore dates.
Store eggs at a steady cool temperature
For a home kitchen in the UK, the fridge is a useful choice. Keep eggs in their carton so you retain the date and reduce unnecessary temperature changes. Take out what you need and return the box promptly. Keep the storage area clean and follow any pack instructions. Avoid washing shells for storage or repeatedly moving the whole carton between warm and cold places.
Choose the degree of cooking deliberately
Choose in-date British Lion or Laid in Britain hen eggs for a lightly cooked result. If their assurance is uncertain, cook white and yolk fully. Other species need thorough cooking. A medically supervised diet for severe immune suppression takes priority; ask the clinical team about eggs.
British Lion is an assurance mark, not simply a red date stamp; check the shell and carton for the mark. For Laid in Britain, check the scheme information on the pack. A general British-origin, free-range or organic claim is not the same assurance. The schemes lower risk; they do not remove the need for clean hands and safe handling. For the separation exercise below, use the egg in a fully cooked dish afterwards rather than tasting it raw.
For separating one egg
- One suitable hen egg, a stable worktop, three clean small bowls holding at least 150 ml each, a clean teaspoon, shell dish and a purpose-made egg separator. For this first method the separator is needed, not optional. It supports the yolk in a small recess while the white runs through slots or holes.
- Before opening the egg, check that the separator fits the receiving bowl as its maker directs. It must rest securely and level with space below its holes. If yours must be held by its handle, use the grip its instructions show and keep the receiving bowl on the counter; do not balance it loosely or use two hands to hold two moving bowls.
- If a later recipe needs several whisked whites, also have a larger clean, dry, grease-free collecting bowl. A trace of yolk or fat can reduce the white's foaming. Do not substitute an improvised sharp-edged bottle or repeatedly pass the contents between shell halves.
Separate without spoiling the whole batch
- Crack an egg and beat it with a forkBeat the recombined practice egg without splashing.
- Scrambled eggs: soft curds, dry curds and when to stopFinish a separation practice as a fully cooked meal.
- Follow the cracking lesson to open the egg into the first bowl and remove any shell with the clean teaspoon. Keep the other two bowls untouched by shell pieces or raw spills. Put the shells in the waste and wash and dry your hands before handling clean equipment.
- Fit the separator securely over the second bowl. Slowly tip the first bowl low over it so the white and yolk enter its recess. Leave it level for about 10 to 20 seconds while the white drips through. Do not poke or shake the yolk; if some white clings, give it a little more time instead of forcing it through.
- Once most white has drained, lift the separator as its maker directs and gently tip its supported yolk into the third bowl. The second bowl now holds white and the third holds yolk. If collecting several whites, move this checked white to the larger bowl before opening the next egg.
- For a one-egg practice, stop here: you have a usable separated white and yolk. If the yolk broke, use both parts for a fully cooked scramble, not for a bowl of whites that must foam. If trying another egg, clean and dry the separator and checking bowl so traces of that yolk do not contaminate the next white.
- Use both parts promptly in the planned recipe. To finish this practice without a separate baking task, recombine them in the mixing bowl, beat with a fork and follow the linked fully set scramble method. If delayed, cover, label and refrigerate each bowl immediately; use the same day for this first practice. Clean the tools and raw-egg contact areas afterwards, and wash hands.
What to do with an awkward egg
- Scrambled eggs: soft curds, dry curds and when to stopUse a broken yolk in a complete cooked-egg method.
Stringy white strands attached to the yolk are normal structures. Very thin whites may spread in poaching water, but can still work in a fully cooked scramble if the egg is otherwise suitable. The useful choice is a method suited to the egg, while keeping storage and cooking safety separate from appearance.